How to Order Glass Cut to Size: A Step-by-Step Guide

Ordering glass cut to size is straightforward once you know the sequence. Most problems come from rushing one step — usually measuring. Follow the stages below and your glass will arrive fitting perfectly the first time.
Step 1. Decide what the glass has to do
Before any tape measure comes out, be clear about the job. Is it a door panel, a shelf, a splashback, a window? Does it need privacy? Will people lean on it, walk into it, stand under it? The answers decide the type and thickness of glass — and whether it must be safety glass.
Step 2. Measure carefully
- Work in millimetres and always write width first, then height.
- Measure each dimension in three places — top, middle and bottom for the width; left, centre and right for the height — and use the smallest figure.
- Measure both diagonals. If they differ noticeably, the opening is out of square and needs a template.
- Allow a fitting clearance. For glass going into a rebate or frame, the pane is made slightly smaller than the opening so it can expand and be bedded properly.
Measure twice, order once. Toughened glass cannot be trimmed afterwards — not even by a millimetre.
Step 3. Templates for awkward shapes
Arches, circles, sloping attic windows and old openings that have settled over a century rarely match a drawing. For these we make a physical template on site, or you can make one from stiff card or hardboard. The template becomes the pattern the glass is cut from.
Step 4. Choose the glass and thickness
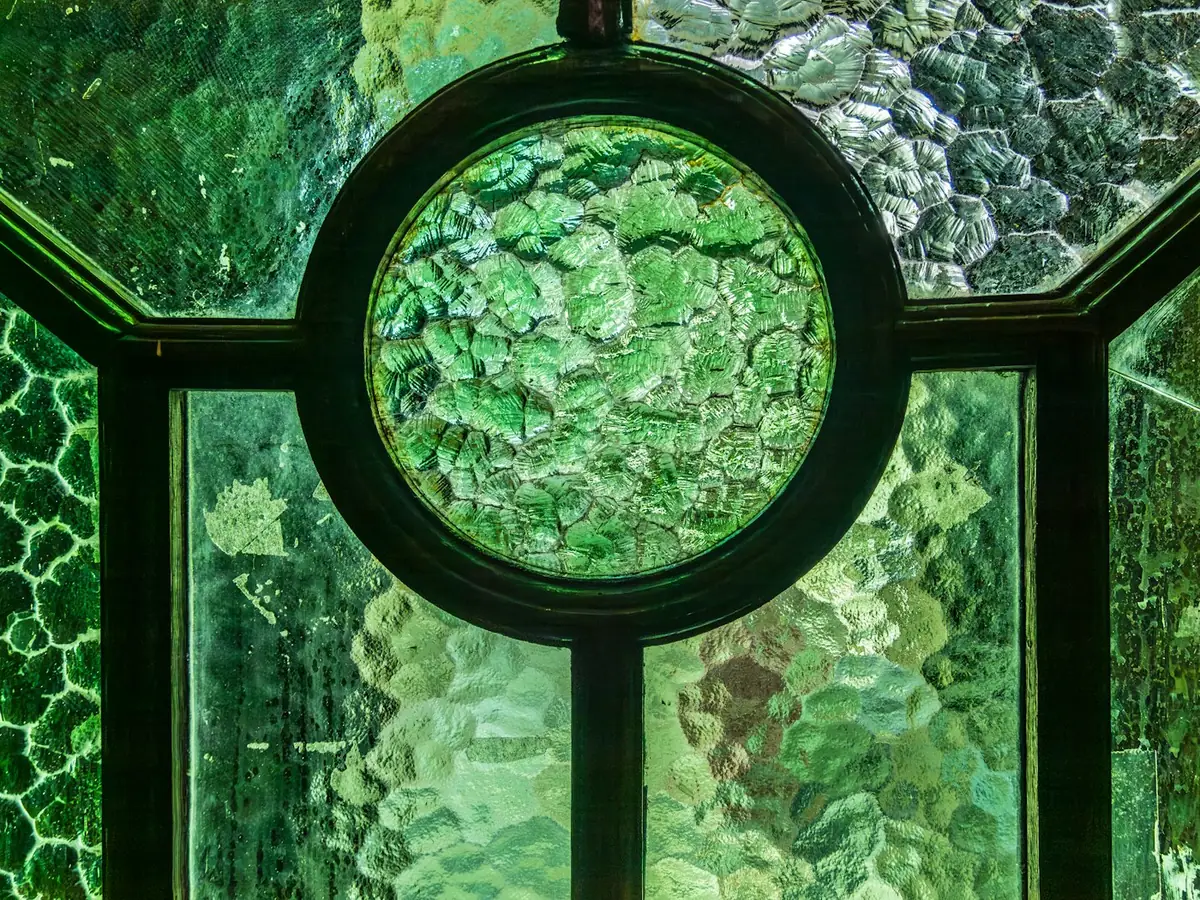
Clear, low-iron, frosted, patterned, tinted, mirrored or stained — and toughened or laminated where safety requires it. Thickness depends on the size of the pane and how it is supported: a frameless shelf or door needs considerably more than a pane held in a frame on all four sides.
Step 5. Edges, holes and cut-outs
Edge work changes both the look and the safety of the finished piece:
- Cut and arrised — the sharp edge is taken off; fine where the edge is hidden in a frame.
- Ground — a smooth matt edge.
- Flat or pencil polished — a clear, glossy edge for exposed shelves, tables and screens.
- Bevelled — an angled border that catches the light.
Holes for handles and hinges, notches and socket cut-outs are all positioned on the drawing and made before toughening.
Step 6. Approve the drawing
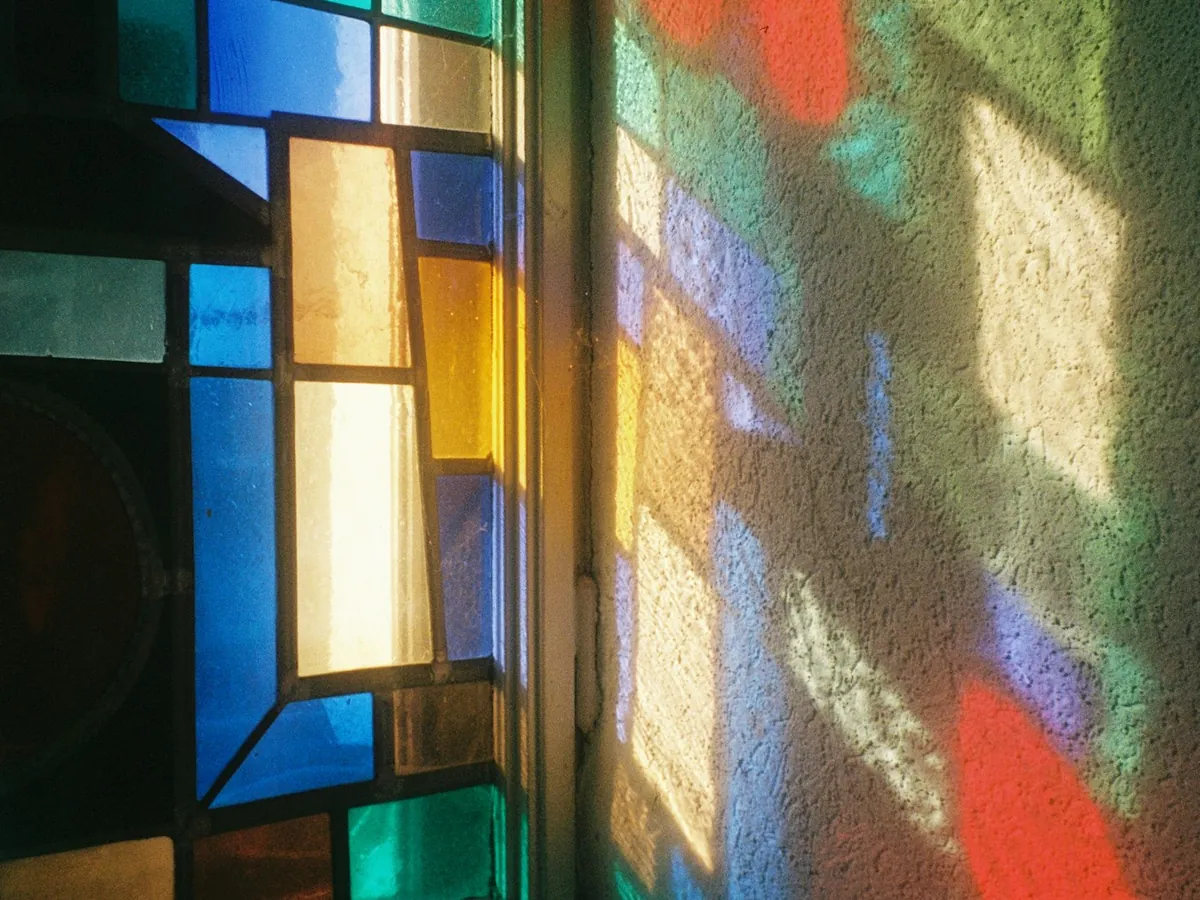
For anything beyond a plain rectangle we send a dimensioned drawing to approve. For stained glass, this is also when you see the full-size design and choose actual glass samples, held up to the light.
Step 7. Manufacture
Plain glass is cut, edged and processed; decorative pieces are sandblasted, painted and fired, or cut and leaded by hand. Timing depends on the glass and the complexity of the design, and we will give you a clear schedule when you approve the drawing.
Step 8. Delivery and installation
Large panes are heavy and unforgiving, so we strongly recommend professional fitting for doors, partitions, shower screens and anything overhead. We bring the right lifting equipment, glazing compounds and fixings — and we take the packaging away.
Before you send your enquiry
Include a photo of the opening, your measurements, the location in the building and a note about what the glass needs to do. If you are not confident measuring, just say so — a site survey is part of our process.